Posted on 1 Comment

Mushroom Dissection + Spore Prints: Try this fun mycology activity in your classroom!

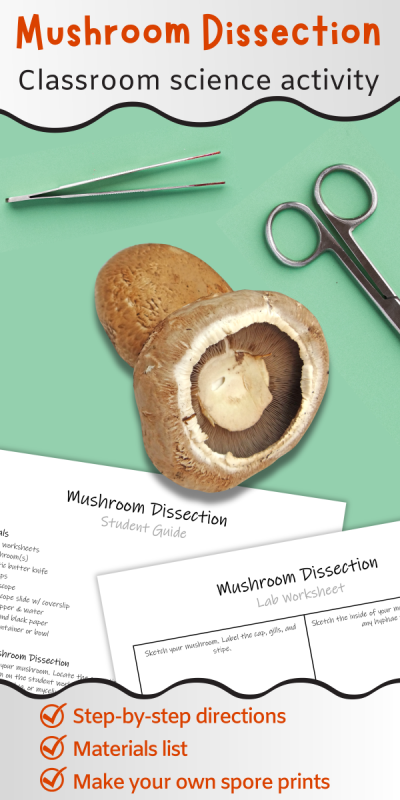
mushrooms, metal instruments, and worksheets

Studying the parts of a mushroom is a fun biology activity for students at many levels. One of the best, hands-on ways to learn mushroom anatomy is by dissecting one. In this mushroom dissection activity, students will observe the internal and external parts of a mushroom. Students will operate a microscope to observe spores and mushroom gill anatomy. Finally, students will create their own spore prints by allowing mushrooms to release their spores onto paper.

Please Note: I’ve made the directions for this mushroom dissection activity available for free here in this post. If you would like printable directions and worksheets for this activity, you can purchase them in my shop. You can find these materials and more mushroom learning materials in my complete Mushrooms Unit!

Materials

  • Printed copies of the Mushroom Dissection Student Guide (1 per student)
  • Printed copies of the Mushroom Dissection Lab Worksheet (1 per student)
  • Printed copies of the Mushroom Anatomy Diagram (1 per lab bench)
  • Fresh, mature mushrooms like portabella, shitake, etc… (a few of each variety per lab bench)
  • Plastic butter knives (1 per lab bench)
  • Forceps (1 per lab bench)
  • Microscopes (1 per lab bench)
  • Microscope slides w/ coverslips (1 per lab bench)
  • Eyedroppers & water (1 per lab bench)
  • Sheets of white and black paper (1 of each per lab bench)
  • Small containers or bowls (1 per lab bench)

Safety Notes and Suggestions

  • Do not eat the mushrooms handled during this lab.
  • Use caution and always supervise your students when handling sharp instruments including forceps, butter knives, and glass microscope slides.
  • You will have a better chance of observing spores using fresh, mature mushrooms (i.e., the gills are visible) rather than immature button mushrooms.
  • If you do not have a microscope skip steps 6-8 in Part 1.
brown mushrooms on beige surface
Photo by Laker on Pexels.com

Directions

Part 1: Mushroom Dissection

A mushroom is the fruiting body of certain fungi. By dissecting a mushroom, you can see the parts of a mushroom up close. These parts help the fungi produce and release spores to create more fungi.

  1. Examine your mushroom. Locate the cap, stipe, and gills (or veil covering the gills). Sketch your mushroom on the student worksheet, labeling the cap, stipe, gills, and other parts you see such as an annulus, volva, or mycelium still attached.
  2. Using fingers or forceps, gently peel away and remove any veil covering the gills (if needed).
  3. Remove the stipe from the cap by gently pulling or twisting on the stipe.
  4. Break or cut the stipe in half length-wise.
  5. Do you see any long, thin filaments or strings on the inside of the stipe? These are hyphae. Sketch the inside of the stipe on the student worksheet, labeling any hyphae.
  6. Remove one gill from the mushroom. Use the forceps to grasp and gently pull away one gill.
  7. Place the gill on a microscope slide. Add a drop of water and a coverslip.
  8. Examine your gill under the microscope and sketch what you see. Basidia are tiny knobs on the gill that make spores. Label the basidia and any spores you see attached to them in your sketch.
  9. If you have a second type of mushroom, repeat steps 1-8 with the second mushroom.
  10. Once finished, discard all mushroom parts EXCEPT for the cap(s) and clean your microscope slide.

Part 2:  Spore Prints

Spores are released from mushrooms as part of the life cycle of a fungus. You can make unique artwork by allowing mushroom caps to drop their spores onto paper.

  1. You can use the mushroom cap(s) from part 1 to make a spore print. Ask your instructor for additional mushrooms to make additional prints.
  2. With any new mushrooms: remove the stipes and peel away any veils covering the gills.
  3. Spores may be light or dark-colored. Try using both black and white paper for your spore prints to ensure the spores are visible.
  4. Place the mushroom caps with the gills facing down on top of the papers.
  5. Place an upside-down container or bowl over the mushroom caps to protect them.
  6. Leave the caps alone overnight. During this time, the gills will release spores which will fall onto the paper.
  7. The next day: remove the containers and mushroom caps to reveal the spore prints.

Study Mushrooms with Wild Earth Lab!

Thereโ€™s no need to create your own mushroom dissection worksheets and print directions – I’ve already made them for you! You can save time and support my blog with your purchase from my shop.

Explore more lessons from Wild Earth Lab:

If you enjoyed this post, I know you will love trying my other science and nature units in your classroom too!


Are you interested in reading more posts with directions for science activities? Subscribe or follow Wild Earth Lab using the links below!


Subscribe, share, and comment:

Posted on Leave a comment

Teaching The Fungi Life Cycle in Your Classroom: learn how mushrooms grow!

a graphic with a picture of the mushroom life cycle

Wild Earth Lab is supported by readers like you. This post includes links to my own products and affiliate products. If you purchase through links on my site, I may earn a small commission at no additional cost to you.

Although mushrooms grow out of the ground like plants, they belong to a completely different kingdomโ€”the fungi kingdom. The life cycle of fungi, like mushrooms, is unique and distinct from the life cycles of plants and animals. Understanding the stages of a mushroom life cycle provides fascinating insights into how fungi grow, reproduce, and contribute to their ecosystems. In this post, we’ll explore the life cycle of a mushroom step-by-step. For homeschool parents and biology teachers looking for engaging ways to introduce the fungi kingdom, be sure to check out my printable mushroom life cycle materials featuring my artwork!

Support my blog with your purchase of my printable mushroom anatomy diagrams!

Before diving into the mushroom life cycle, be sure to review the parts of a mushroom. It helps to be familiar with mushroom anatomy terms including mycelium, hyphae, and spores.

1. Spores Germinate and Hyphae Form

The life cycle of a mushroom begins with spores. A spore is a single cell, but not just any cell โ€“ itโ€™s a special cell for reproduction. When spores land on the soil or another surface, they germinate, which means start growing. The spores develop into hyphae:  long branching filaments made of many cells.

2. Hyphae Meet

In animals, there are two mating types, known as male and female. Fungi also have different mating types (two or more depending on the species). When two hyphae of different but compatible mating types come into contact, they fuse together. This fusion allows new, unique hyphae to grow.

3. Mycelium Expands and Primordia Form

As the hyphae grow and expand, they form a mycelium โ€“ the underground part of a fungus. As the mycelium spreads, clusters of hyphae called hyphal knots start to develop. These hyphal knots are a sign that a mushroom may soon form. The knots grow into small structures called primordia, which are like baby mushrooms.

4. Button Forms

Many hyphal knots and primordia form in the mycelium, but only a few grow into mature mushrooms. A mushroom is the fruiting body of a fungus โ€“ its reproductive structure that makes spores. When a mushroom is young, it is called a button. Buttons have protective veils covering their gills.

Looking for a hands-on mushroom activity to try with your class? You can grow your own edible mushrooms using a kit, and watch buttons form from the mycelium! Try this grow-your-own oyster mushroom kit from ForestOriginsShop on Etsy.

5. Spores Release

Once the mushroom is fully developed, it opens, revealing its gills.  The gills release spores. A single mushroom can produce billions of spores. Spores are very light, allowing them to travel easily through the air. If they land in a good spot, some will germinate and start the life cycle all over again.

Teach Mushroom Life Cycles with Wild Earth Lab!

Do you need classroom materials for teaching fungi life cycles? Iโ€™ve created some for you! This set includes all the printable materials you need for studying how mushrooms form! Your purchase will support this blog.

Or, get these life cycle materials PLUS more mushroom activities in my complete Mushroom Unit:

Explore units from Wild Earth Lab:

If you enjoyed this post, I know you will love trying my other science and nature units in your classroom too!


Are you interested in reading more about biology classroom topics? Subscribe or follow Wild Earth Lab using the links below!


References and Further Reading

  1. Arora, D. (1986). Mushrooms Demystified (Second Edition). Ten Speed Press and Random House, Inc.
  2. Ha, M., Morrow, M., & Algiers, K. (n.d.). Botany. ASCCC Open Educational Resource Initiative. Available Chapter 2.3 Fungi. Available via LibreTexts: https://bio.libretexts.org/Bookshelves/Botany/Botany_(Ha_Morrow_and_Algiers)/
  3. Various Authors (n.d.). Introductory Biology: Evolutionary and Ecological Perspectives. Chapter XVI. Fungi. Available via University of Minnesota PressBooks: https://pressbooks.umn.edu/introbio/
  4. OpenStax (n.d.). Concepts in Biology (OpenStax). Chapter 13.4 Fungi. Available via LibreTexts: https://bio.libretexts.org/Bookshelves/Introductory_and_General_Biology/Concepts_in_Biology_(OpenStax)/

Subscribe, share, and comment:

Posted on 4 Comments

Parts of a mushroom: anatomy of mushrooms plus a fun learning activity!

banner with a photo of a mushroom advertising "free diagrams and worksheets"

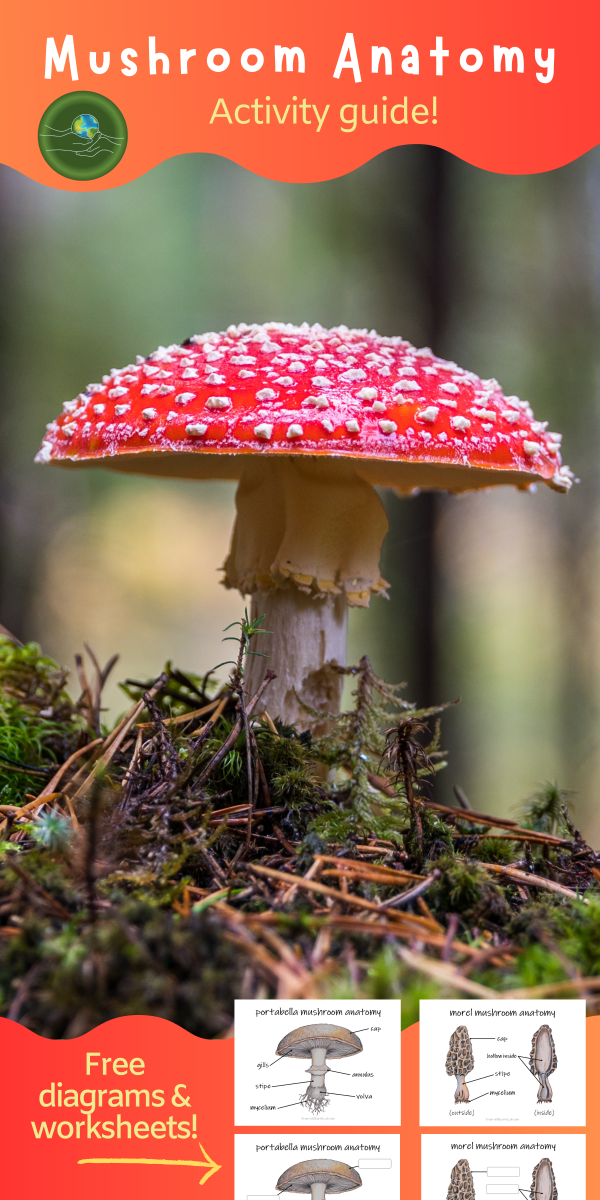
Mushroom anatomy is a great science activity for students of any age! Try dissecting a mushroom at home, such as a portabella mushroom or shiitake, and identifying these parts! Continue reading to learn about the main parts of a mushroom, or skip to the bottom to download some mushroom anatomy diagrams!

1. Cap

The top portion of the fruiting body of a mushroom, which provides a protective covering.

Little brown mushroom grows out of a stump in Colorado near Cameron Pass.

2. Gills

The gills are located on the underside of the cap. The spores are released from the gills.

brown mushrooms on beige surface
Photo by Laker on Pexels.com

3. Stipe

The stipe is the main supportive stalk of the fruiting body of the mushroom.

4. Annulus

The annulus is located around the stipe of some mushroom, below the gills in some mushrooms. The annulus is the remains of a protective veil that once covered the gills. When it is time to release the spores, the veil breaks away from the gills.

banner with a photo of a mushroom advertising "free diagrams and worksheets"

5. Volva

The volva is a cup-like structure at the base of the fruiting body of a mushroom, above the mycelium in some mushrooms. It is also made of remnants of a veil.

6. Mycelium

There is a lot more to a mushroom than what meets the eye! The mycelium is a network of underground filaments, below the fruiting body. A single filament is called a hyphae. Some of a mycelium’s functions are similar to the functions of a plant’s roots. The mycelium helps anchor the mushroom in the soil. However, mycelia do much more than that! They break down and digest organic matter in the soil, which feeds the mushroom. They also connect mushrooms to one another underground.

Free Mushroom Anatomy Diagrams:

I created these mushroom diagrams in the early days of Wild Earth Lab, and now I’d like to gift them to you and your classroom as a little thank you for your support! They feature my colored pencil illustrations and they are free to download for email subscribers. ๐Ÿ™‚

Study Mushroom Anatomy With Wild Earth Lab!

Are you creating a mushroom lesson plan to teach in your classroom or homeschool? You can save time by purchasing my mushroom anatomy resources, available as instant downloads for quick and convenient printing.

NOTE: You can also find these mushroom anatomy worksheets within my complete Mushrooms Unit, which includes materials for studying mushroom anatomy, fungi life cycles, and more!

More mushroom printables from Wild Earth Lab:

I offer a variety of mushroom-themed activities and learning materials in my Etsy shop! Your purchase helps me continue delivering fun educational content and resources! Your purchase from my shop or Etsy store will help me continue delivering fun educational content and resources!


Are you interested in reading more posts like this? Subscribe or follow Wild Earth Lab using the links below!


Sharing options and discussion for this post: